VDBench is a nice tool to see what the performance is of storage. To make life easier HXBench was created. You can see what the performance of your HyperFlex cluster is.
And you can also use this tool to fill up your cluster with capacity! There are different methods to do it. [See This Post]
Where to download HXBench?
HXBench can be download when you are on the HyperFlex Sizer website. There is a very nice link to the HyperFlex sizer and I prefer to use: cs.co/hx-sizer This is a link I can remember 🙂
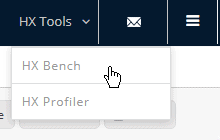
When you on this site you see at the right top “HX Tools”. Pull down the menu and select HX Bench.
Another page will be opened and as you can see, there is a HXBench for vCenter and Hyper-V.
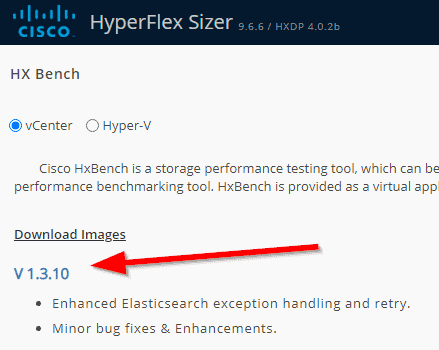
Right now the latest version of the HXBench is 1.3.10 and when you click on it, an OVA will be downloaded, which can be installed on ESXi.
HXBench network
At the HyperFlex Sizer page there is some help for HXBench. A very nice document where everything is described how to configure it.
Before I am going to show how to install the OVA, I fist want to talk about the network which HXBench is using. Sometimes it can be confusing.
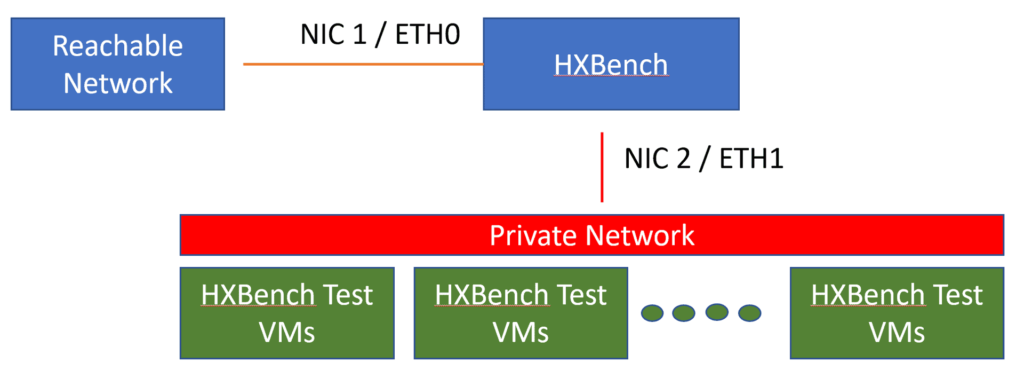
HXBench is just one VM image with 2 interfaces. One interface to a reachable network where you can open the webpage of HXBench.
The other network can be a private network. HXBench will assign IP addresses or you can use a normal network with a DHCP server on it.
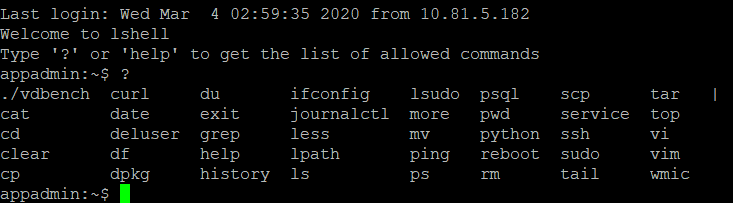
This means the command you can execute are limited. If you configured everything correctly, the only time you want to be here is to troubleshoot when the VM Group isn’t created.
If you want to do an ip change, that’s also possible. If you don’t know how Linux is working, you can google everything or just do a new deploy of the OVA ! Most of the time this is faster!
Lets go to HXBench Webpage and login
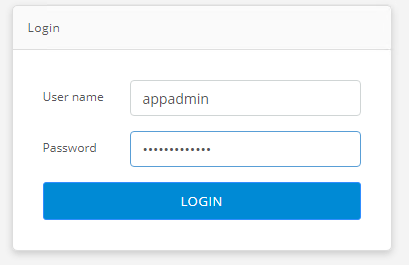
After the first time login, you will see a Disclaimer and of course you read this one…..Duh…

Before you can configure HXBench, you must upload VDBench. If you don’t have it, click on the link to download it from the oracle site.
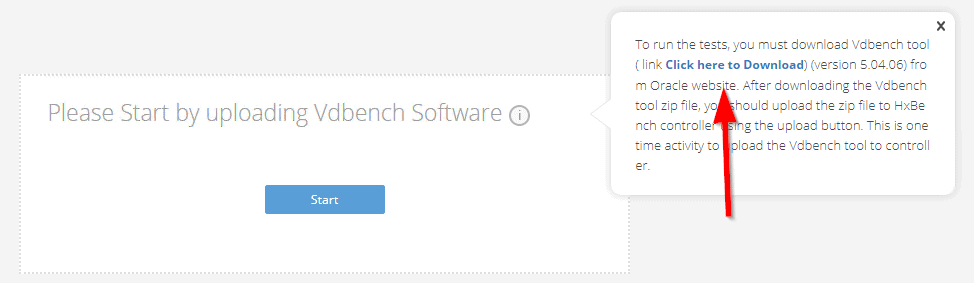
Click upload and find the VDBench file.

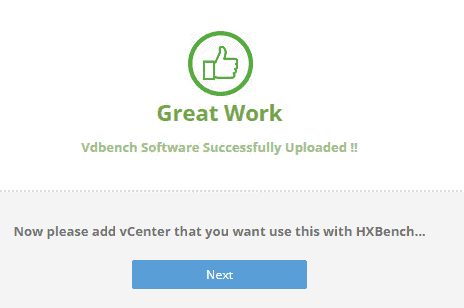
It will upload the software. This will take some seconds.

And Hooray! You earned a sticker.. Great Work:)

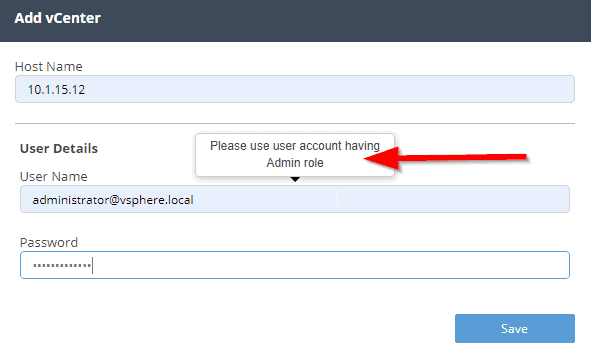
Give the credentials of the vCenter. You can use IP address or FQDN. The user name must be a user with an administrator role.
Configure HXBench
You will get a screen where you can define the test, but I prefer to cancel this screen.
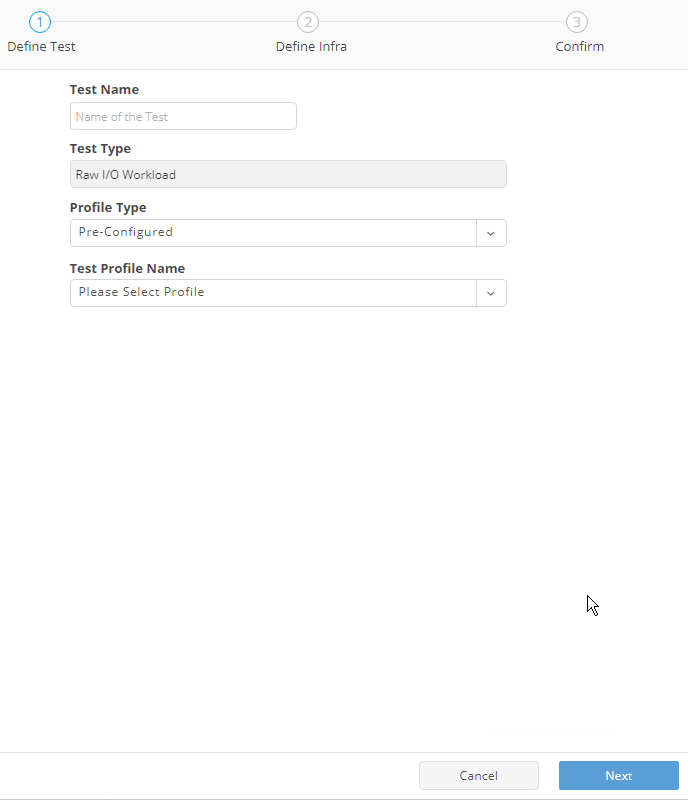
I want to create a small test VM Infra group to see if everything is working.
So click on VM Infra.
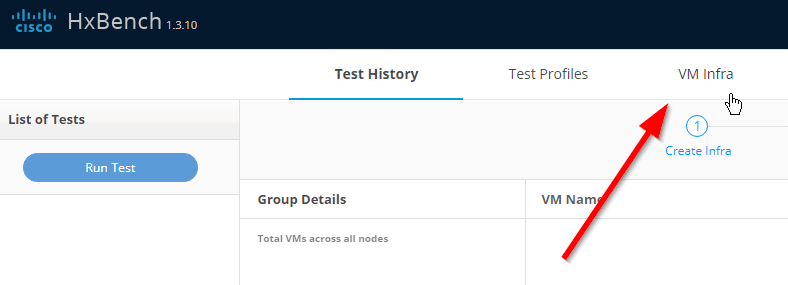
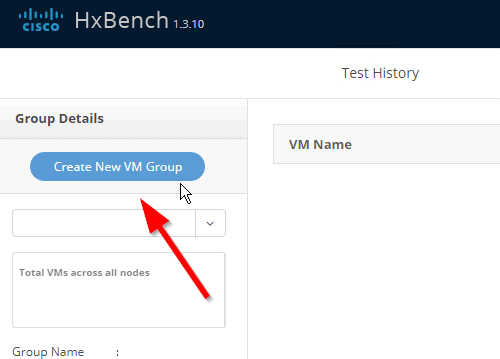
Nothing is configured, so configure the first new VM Group.
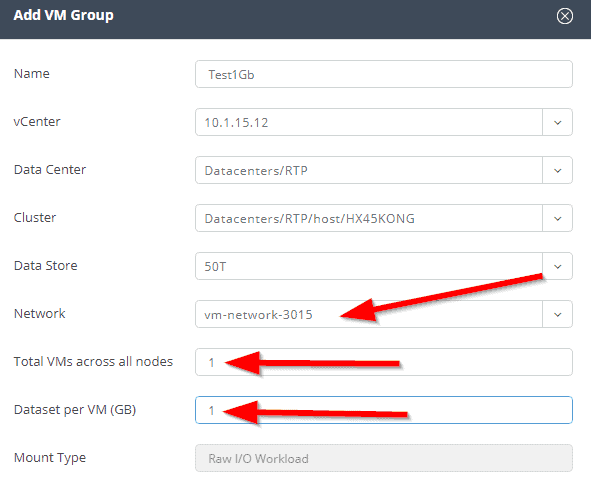
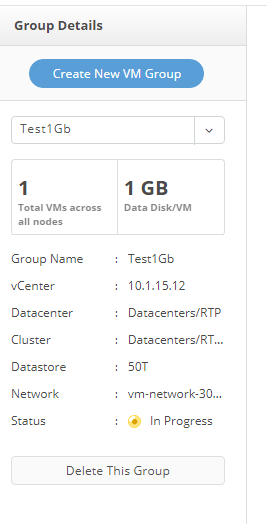
Fill in the name and you see that other things are already filled in.

Normally I start with just 1 VM and a dataset of 1Gb.
This will be created within a couple of minutes.
To see if everything is working, you can SSH to HXBench, login and type in the command:
tail -f /home/appadmin/hxbench/hxbench/hxbench.log

Now it’s just waiting.
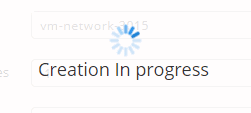
You can see that it’s in progress right now.

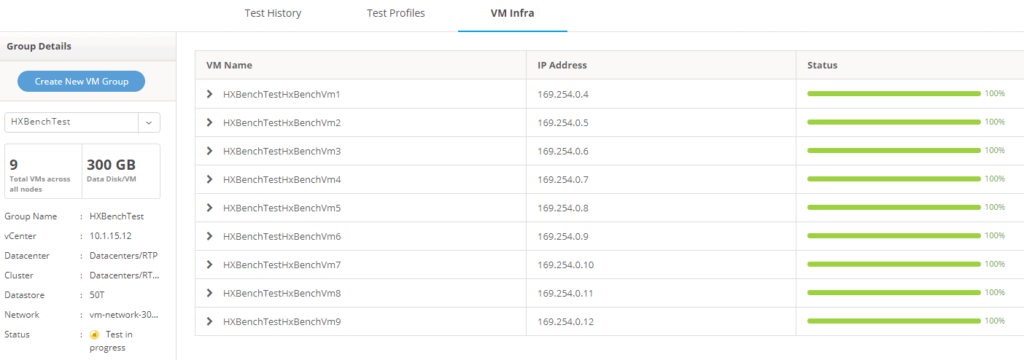
And when the result is green, everything is fine and you can start creating a VM Group for the real test. 8x 300Gb in this case.
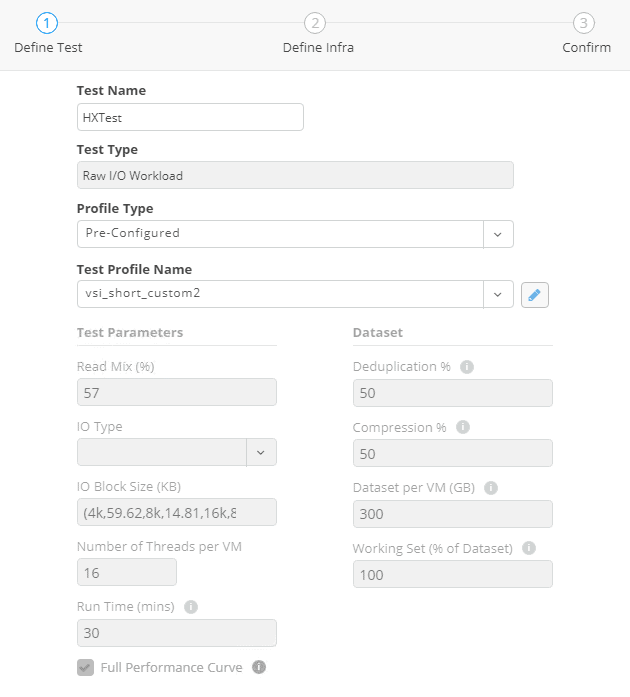
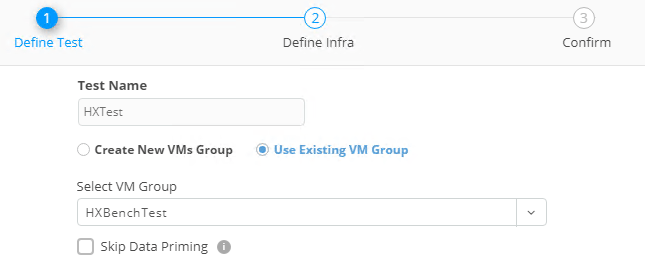
When this is successful, you can start the test. You can select predefines tests or custom your own test. Make sure the Dataset is a right amount of size. A small dataset can give wrong results.
You select the VM Group we just created
And when you select finish, it first will prime all data.
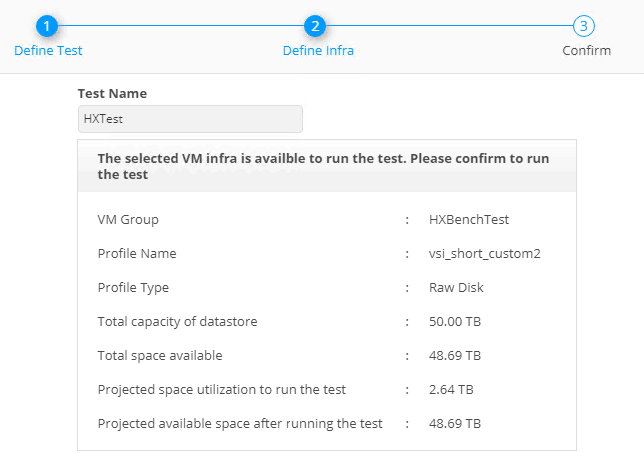
With 8x300Gb, that’s about 2.4TB and this can take a while.
If you want to fill your system, you can do this with a test that just last 1 minute. During priming the capacity of the cluster will be filled with data that you specify!
Or if you don’t use HXBench for filling up your HyperFlex cluster, you can run some performance tests.
Have fun!