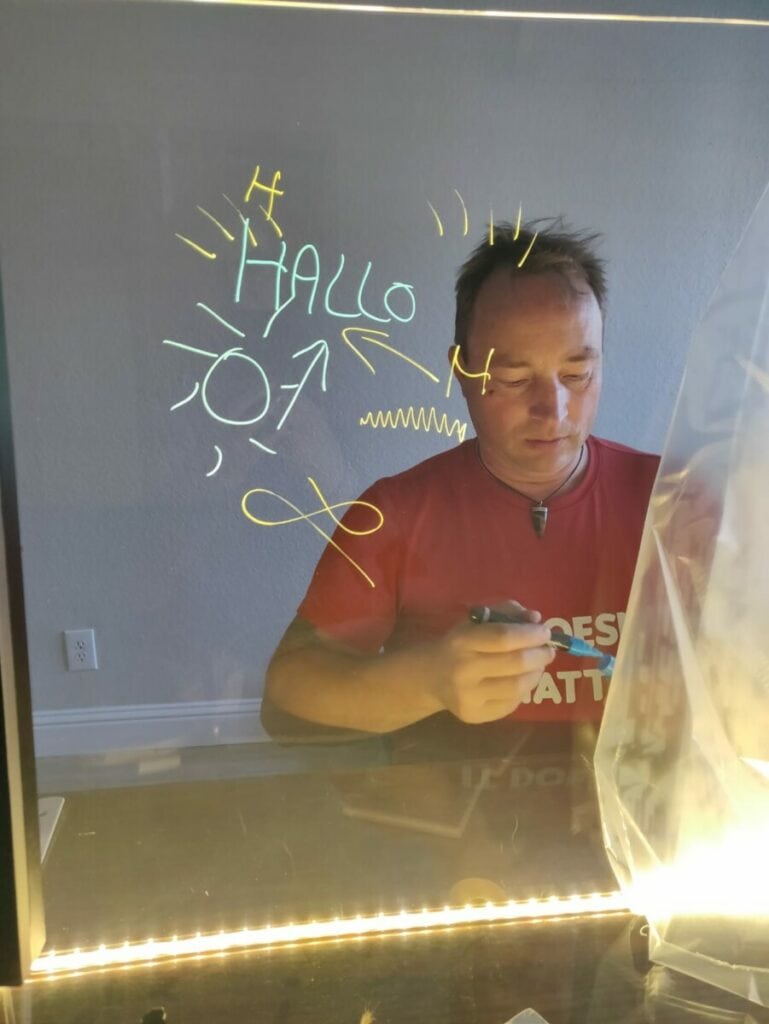
The first time I used a lightboard was in 2018. Together with a colleague we created some awesome videos and it was fun to make them.
With the Working From Home, I don’t have access to a real big lightboard and I wanted to create some content for the next HyperFlex Data Platform release. That is why I tried to create a lightboard myself.
First Attempt
Luckily I have a wife who was a carpenter and she knows a lot of good tips regarding material.
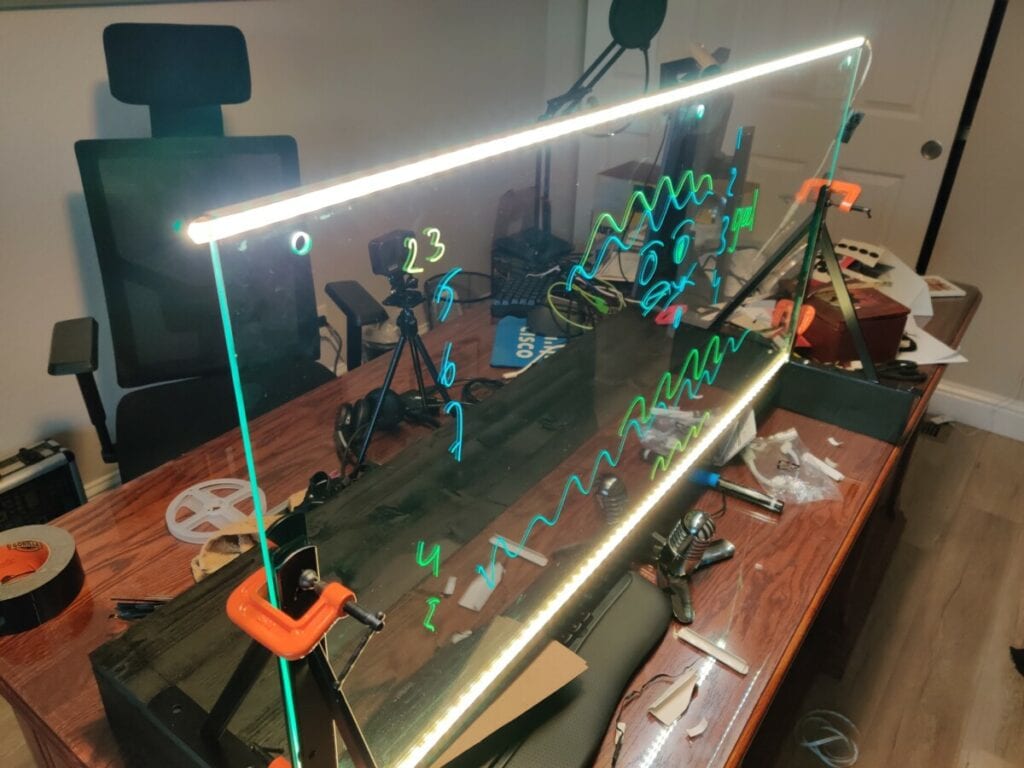
I knew you would need a surface to write on, have a camera, mic and good lighting. I started with a piece of Acryl, but within 5 minutes I did noticed some very small scratches on the surface. So the acryl was replaced by glass. The led strips were working nicely. You are needing a LED strip to shine some light into the acryl/glass. The other LED strip is just for normal lighting

Materials used
Here is the total list of used materials:
- 4x Clamps
- 4x Shelf Brackets
- 1x Ikea Cabinet Top Glass
- 2x LED Strips (8 feet each)
- 1x Black Backdrop
- 1x Camera (GoPro Hero 8)
What can be improved?
The glass what I’m using is from Ikea and has some holes in it and the the edges are rounded. That’s why it looks like green glass.
Starphire is way better glas. The iron in it is very low and crystal clear.
Right now I am using a GoPro Hero camara with the build in mic. This is working. I do have a Sony 4K DSLR camera, which I can use as normal camera with a HDMI to USB connection and on that camera I do have a polaroid filter. With this filter, I can setup a second monitor behind the camera and filter out the reflection of this monitor in the glass.
A mic in front of the glass is way better for the sound.
Current Setup
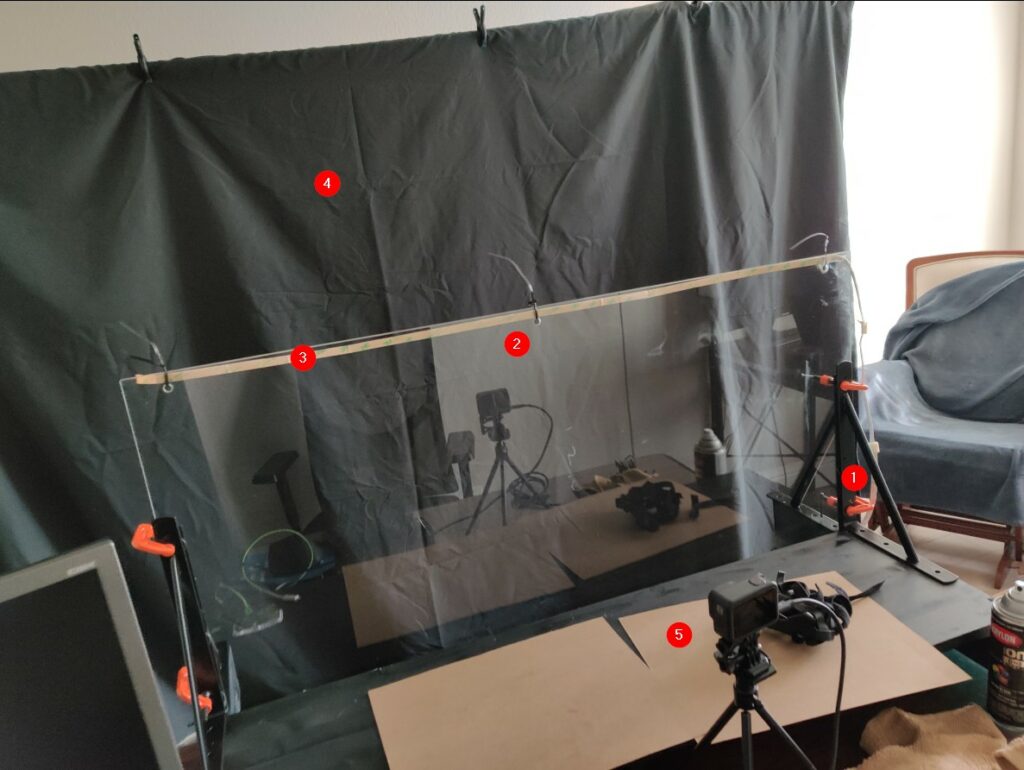
Here is my current lightboard setup, which is working for me. It’s not professional, but at least I am ready to make some awesome videos!

You will see the clamps and shelf brackets.

2. Glass.
3. LED Strip
4. Black Backdrop
5. Camera with build-in mic.
Lightboard Example
Here is the video where I explain what you need for a simple lightboard.
Fantastic! I was wondering what might keep you busy during the rainy season. Could not have imagined you’d be up to such a fun and useful project.
If you are looking for crazy feature enhancement ideas for the next version, it would be ridiculously cool to carpenter your desk with a modified retractable TV lift system for your Starphire glass.
Congratulations on a nice build and excellent quality video. Looking forward to seeing the videos you will soon create.
Thanks Brad.
My wife is the carpenter, so I’ll ask her to create a lift 🙂
I Use Flip! as free virtual lightboard – Shimshon (sems) Harari
To keep free and simple, I am using Flip! (a free Microsoft video call application). Flip! has draw mode, so you can use stylus to draw on the video layer where your face appears. Now use Zoom share screen to shows whatever FLIP! is doing.
1. Sign in Microsoft Flipgrid htpps://info.flip.com and login.
2. In Flip page Open Camera and use your camera and microphone. Camera/Flip screen appear.
3. Open a new meeting in Zoom
4. Disregard the video icon and select the share screen
5. select Camera /Flip as window you want to share, and select Share
6. You can now paint or use Flip’s menu and broadcast in real time live video conference.
7. See https://www.youtube.com/watch?v=KUy_yN8HNVw